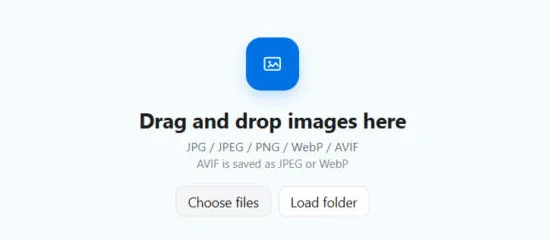
Add files or a folder
Use Choose files or Load folder, or drag images onto the window.
AVIF can be loaded and is saved as JPEG or WebP.
 PicPrep
From adding images to saving them, step by step on real screens. Start with the 81-second video guide.
Video guide1:21
No audio. Captions explain each step.
JPG, JPEG, PNG, WebP and AVIF
Use Choose files or Load folder, or drag images onto the window.
AVIF can be loaded and is saved as JPEG or WebP.
Loaded images appear as cards with their file size and dimensions, so heavy files are easy to spot.
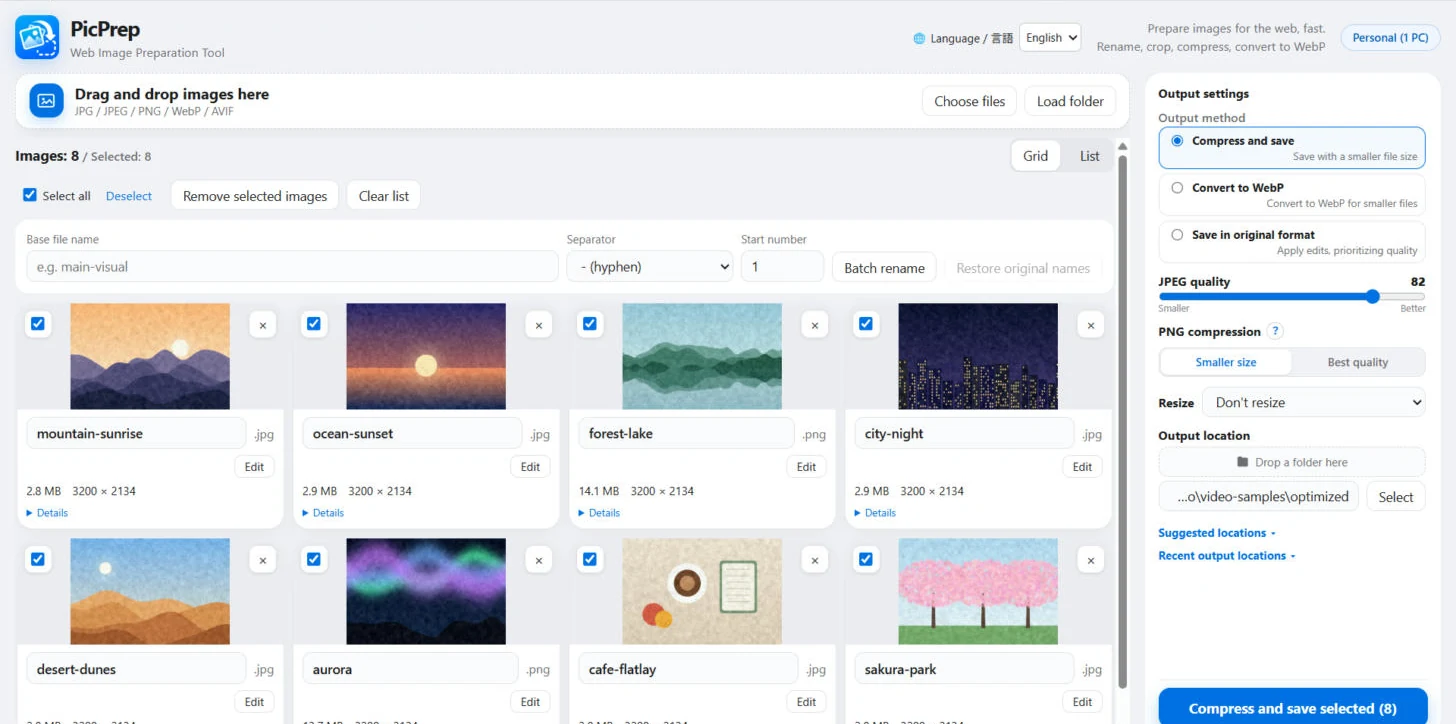
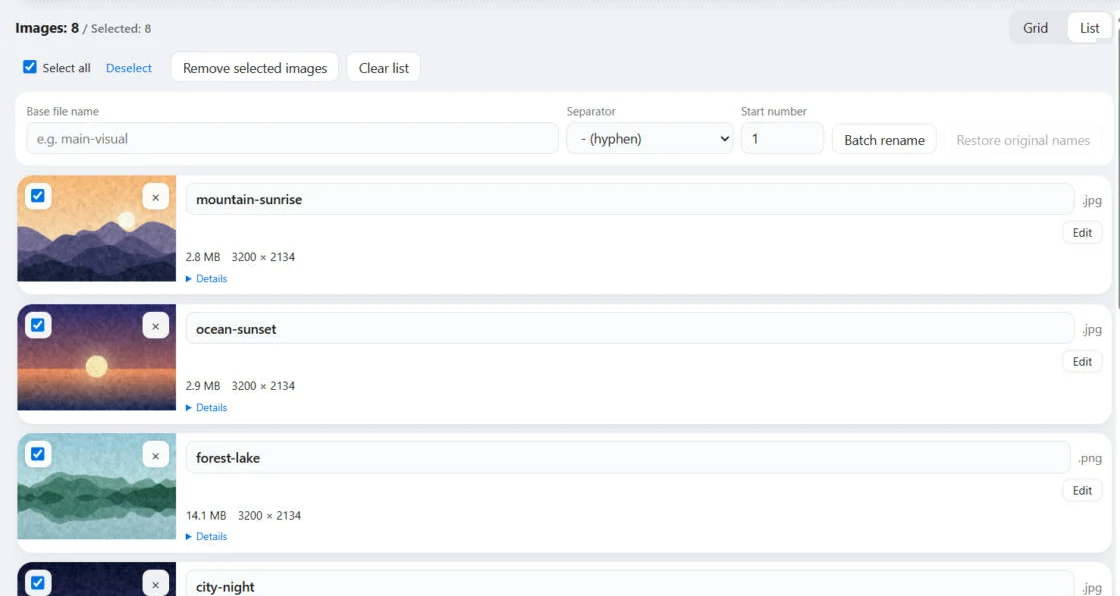
Use Grid or List at the top right. List view is handy for large batches.
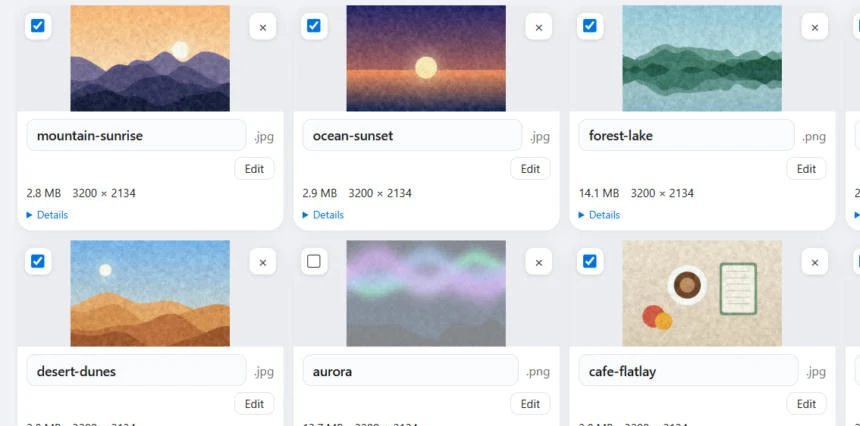
Unchecked images are skipped when you save. Select all and Deselect switch everything at once.
Give images consistent, numbered file names
Type a base file name and choose a separator: hyphen, underscore or none. You can also set the start number.
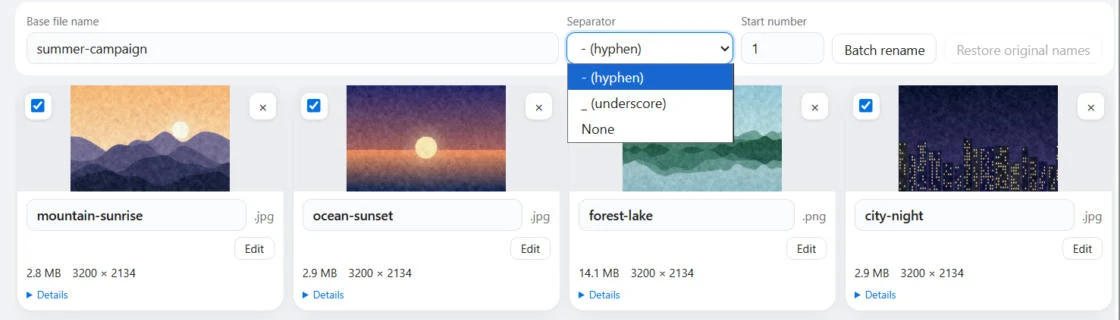
Choose Batch rename to name the selected images summer-campaign-01, -02, -03 and so on.
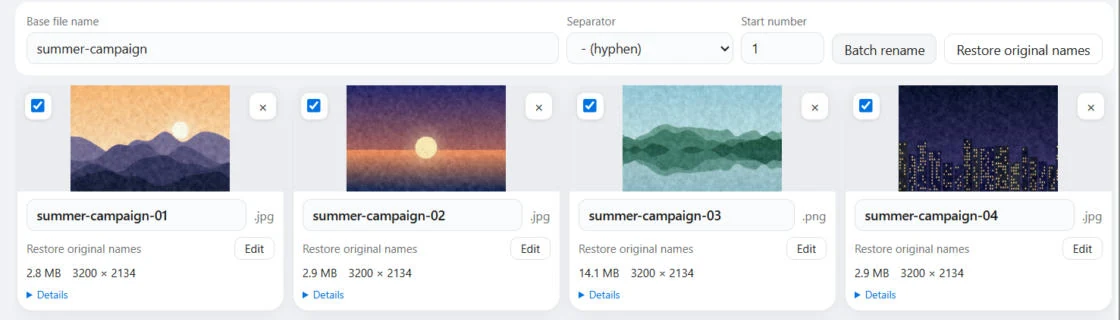
Edit the name field on any card to rename just that image. Restore original names brings back the original file names.
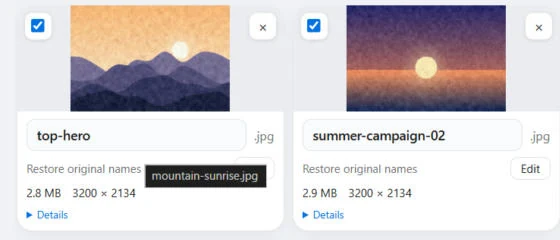
Choose Edit on any card
Edit opens the Adjust image dialog. With Free selected, drag the corner handles to set the area.
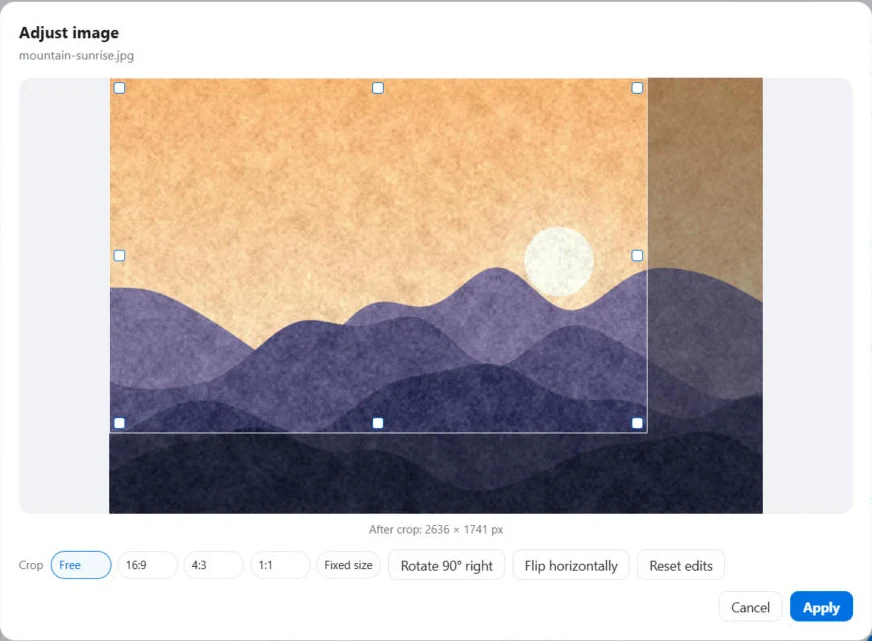
Choose 16:9, 4:3 or 1:1 to keep the ratio while you adjust the area.
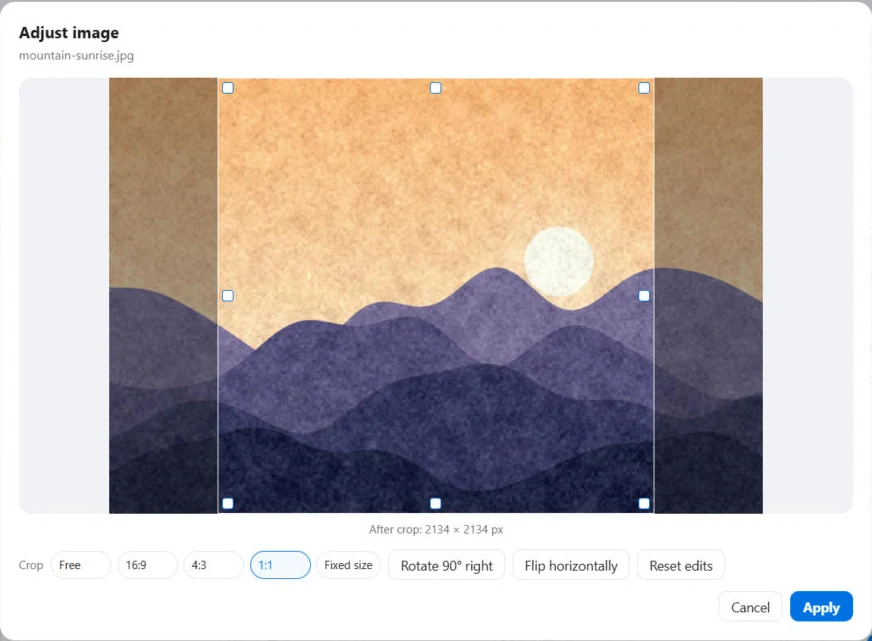
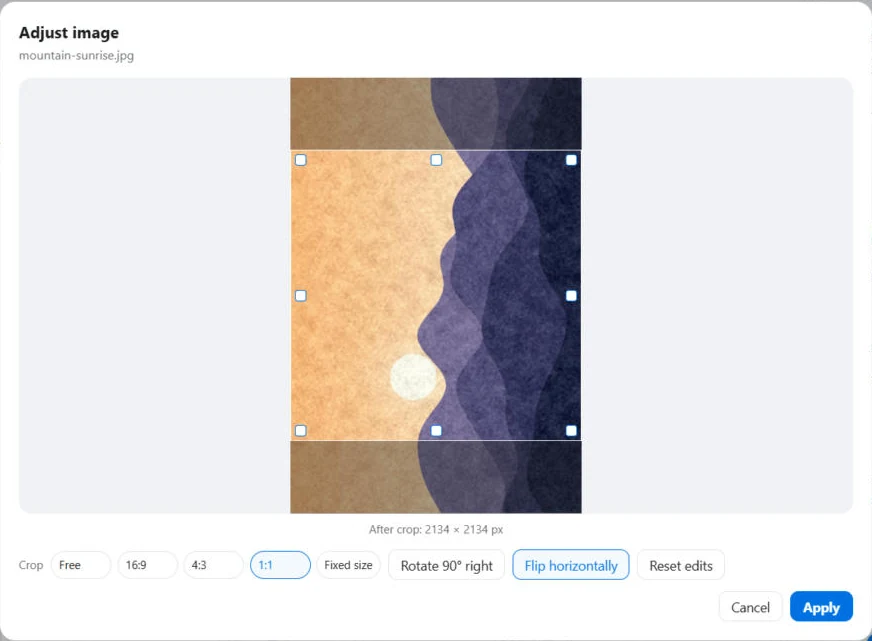
Use Rotate 90° right and Flip horizontally. Reset edits returns to the original.
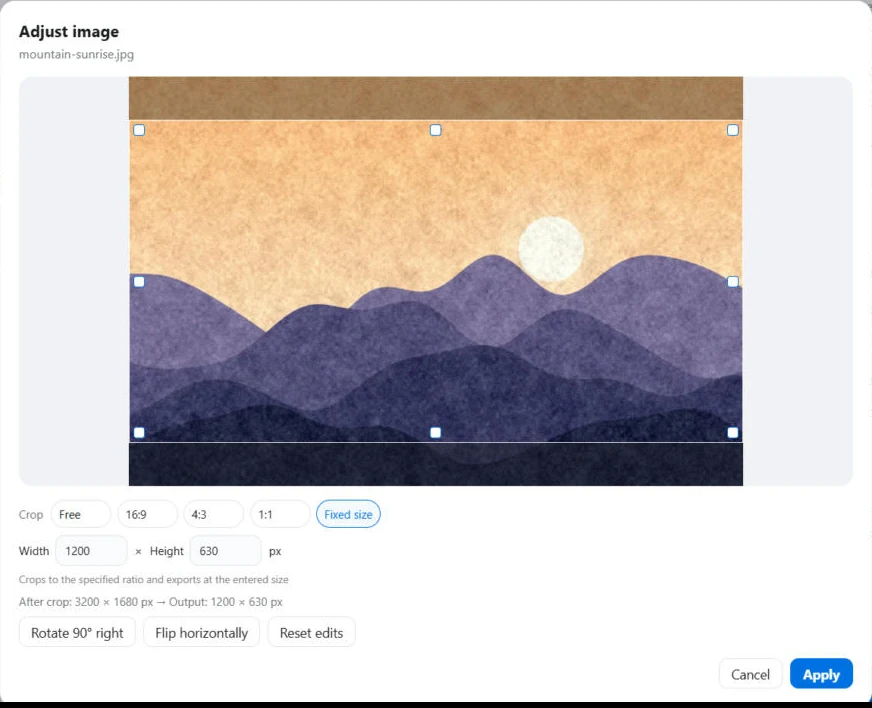
Fixed size crops to the ratio of the width and height you enter, then exports at that size.
After you choose Apply, the card shows Edited. The original file is not changed; edits are applied when you save.
Set how images are saved in Output settings
Keep the format and reduce the file size. Move the JPEG quality slider left for smaller files or right for better quality.
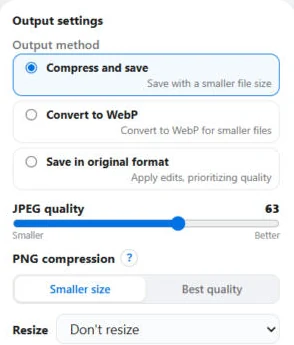
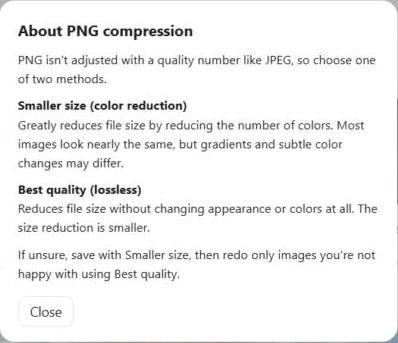
Smaller size reduces colors for a big saving; Best quality keeps the image identical. If unsure, start with Smaller size.
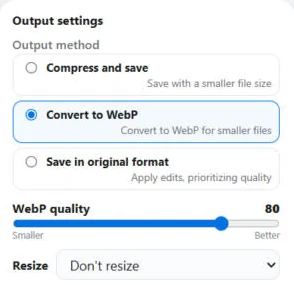
Save everything as WebP. Adjust WebP quality with the slider.
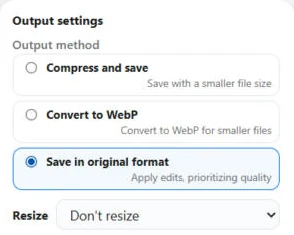
Keep the format and apply only your edits, prioritizing quality.
Pick the long edge from presets for common uses. Images smaller than the target are never enlarged.
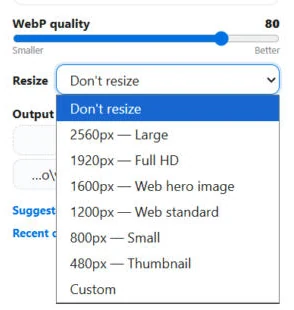
Choose Custom and enter the long edge in pixels for any other size.
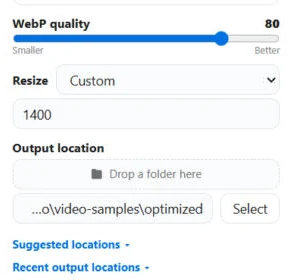
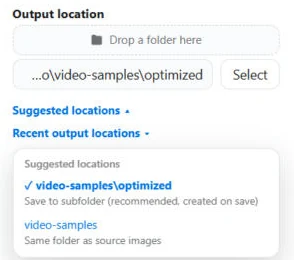
PicPrep writes new files and never overwrites your originals
Suggested locations is the quickest way. A subfolder named optimized inside the source folder is recommended and is created when you save. You can also choose any folder with Select.
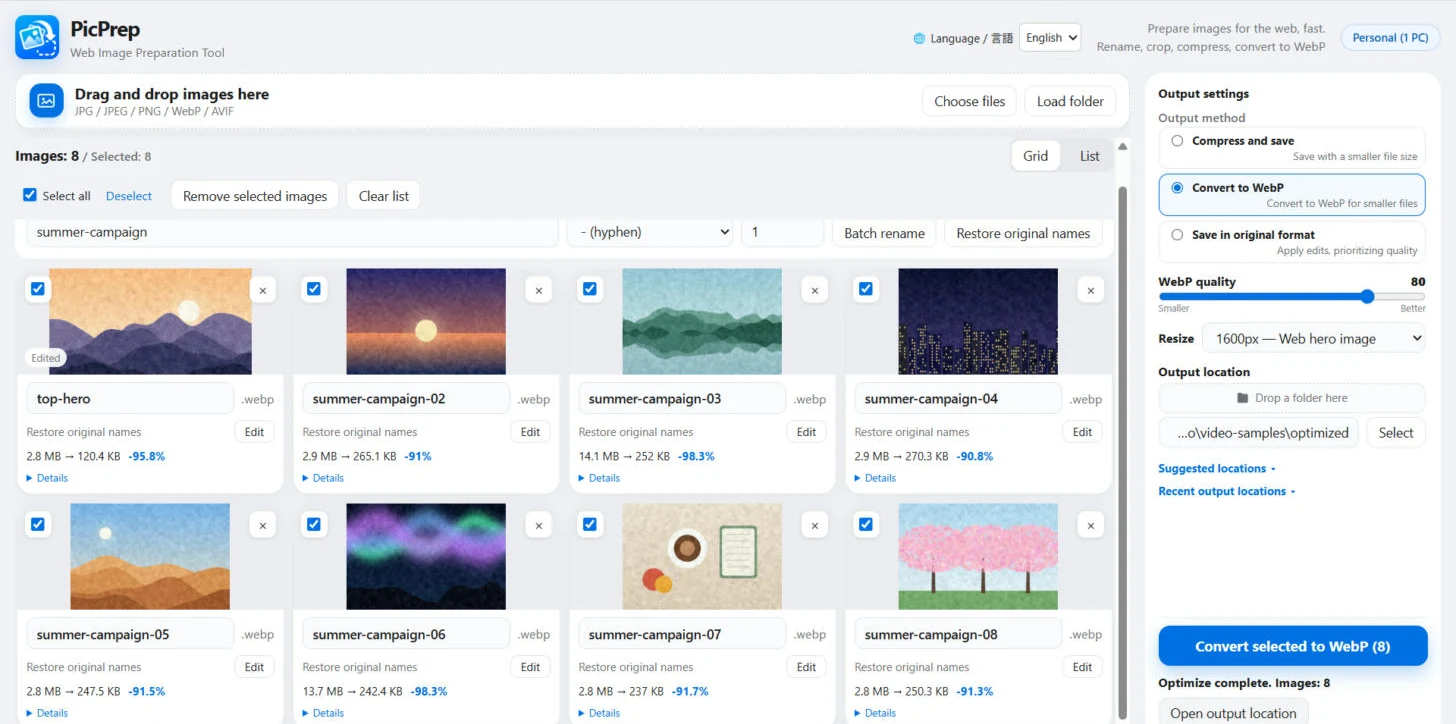
Choose the save button. Each card then shows the size before and after, and the reduction.
The free edition saves up to 5 images at a time; loading, editing and previewing are unlimited. Saved images are deselected, so you can save the rest next. A paid license removes the limit.
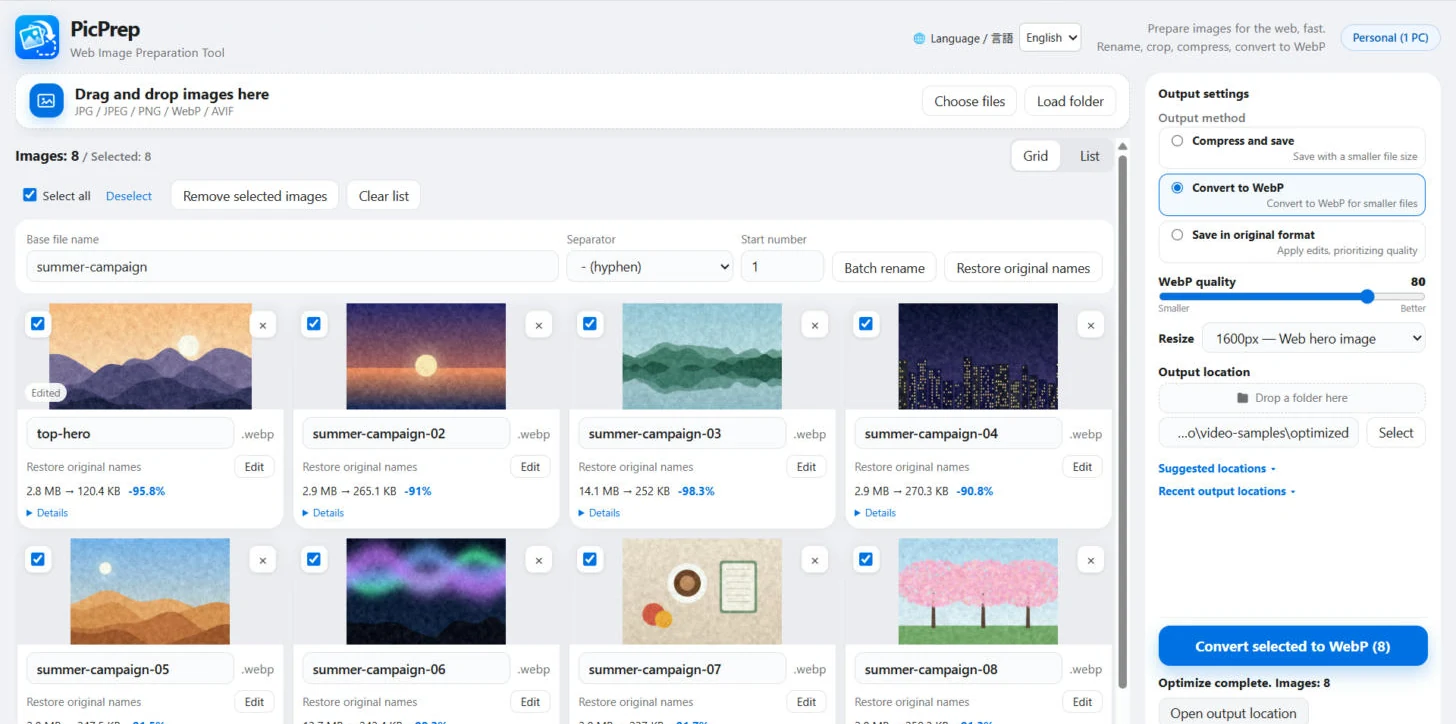
Open output location shows the saved files right away.
Figures shown are from sample images. Savings vary by image and settings.
Every feature is included, up to 5 images per save, with no time limit.